I attended Little Wars in St. Charles, Illinois (which is about 20 miles north of my house) last Saturday.
This was my third year running a game of my home-brew Command and Colors rules with 28mm figures. Last year I did Gettysburg, and the year before I did Waterloo and Quatre Bras.
This year I decided to try to do the entire Waterloo campaign. The idea was to use the old classic Avalon Hill block game, NAPOLEON, to maneuver the troops, and when a battle occured on the board, we would fight it out on the tabletop. Paul Niemeyer, my artist/ wargamer buddy agreed to help me again this year (Thank you Paul!).
We had one full time player (Jim Thompson) who played the entire campaign as the British/ Prussians, and 6 other players who jumped in to fight a battle, but who could not stay the entire day.
Here are some of the pictures of the fun:
The French player (Paul), had driven half of his forces up the extreme left of the campaign map, aiming at taking Ghent (which would cause one unit of attrition to the British each turn, if taken). The other, larger, half of his Armee du Nord went 'up the gut' through Charleroi, aiming at Brussels (which, if taken, would cause 1 unit of attrition to both the British and the Prussians). Jim skillfully fell back toward Ghent with one Corps of the British army, taking a few pursuit losses, while meanwhile bringing a large army together to stop the central thrust. The armies met at Quatre Bras.
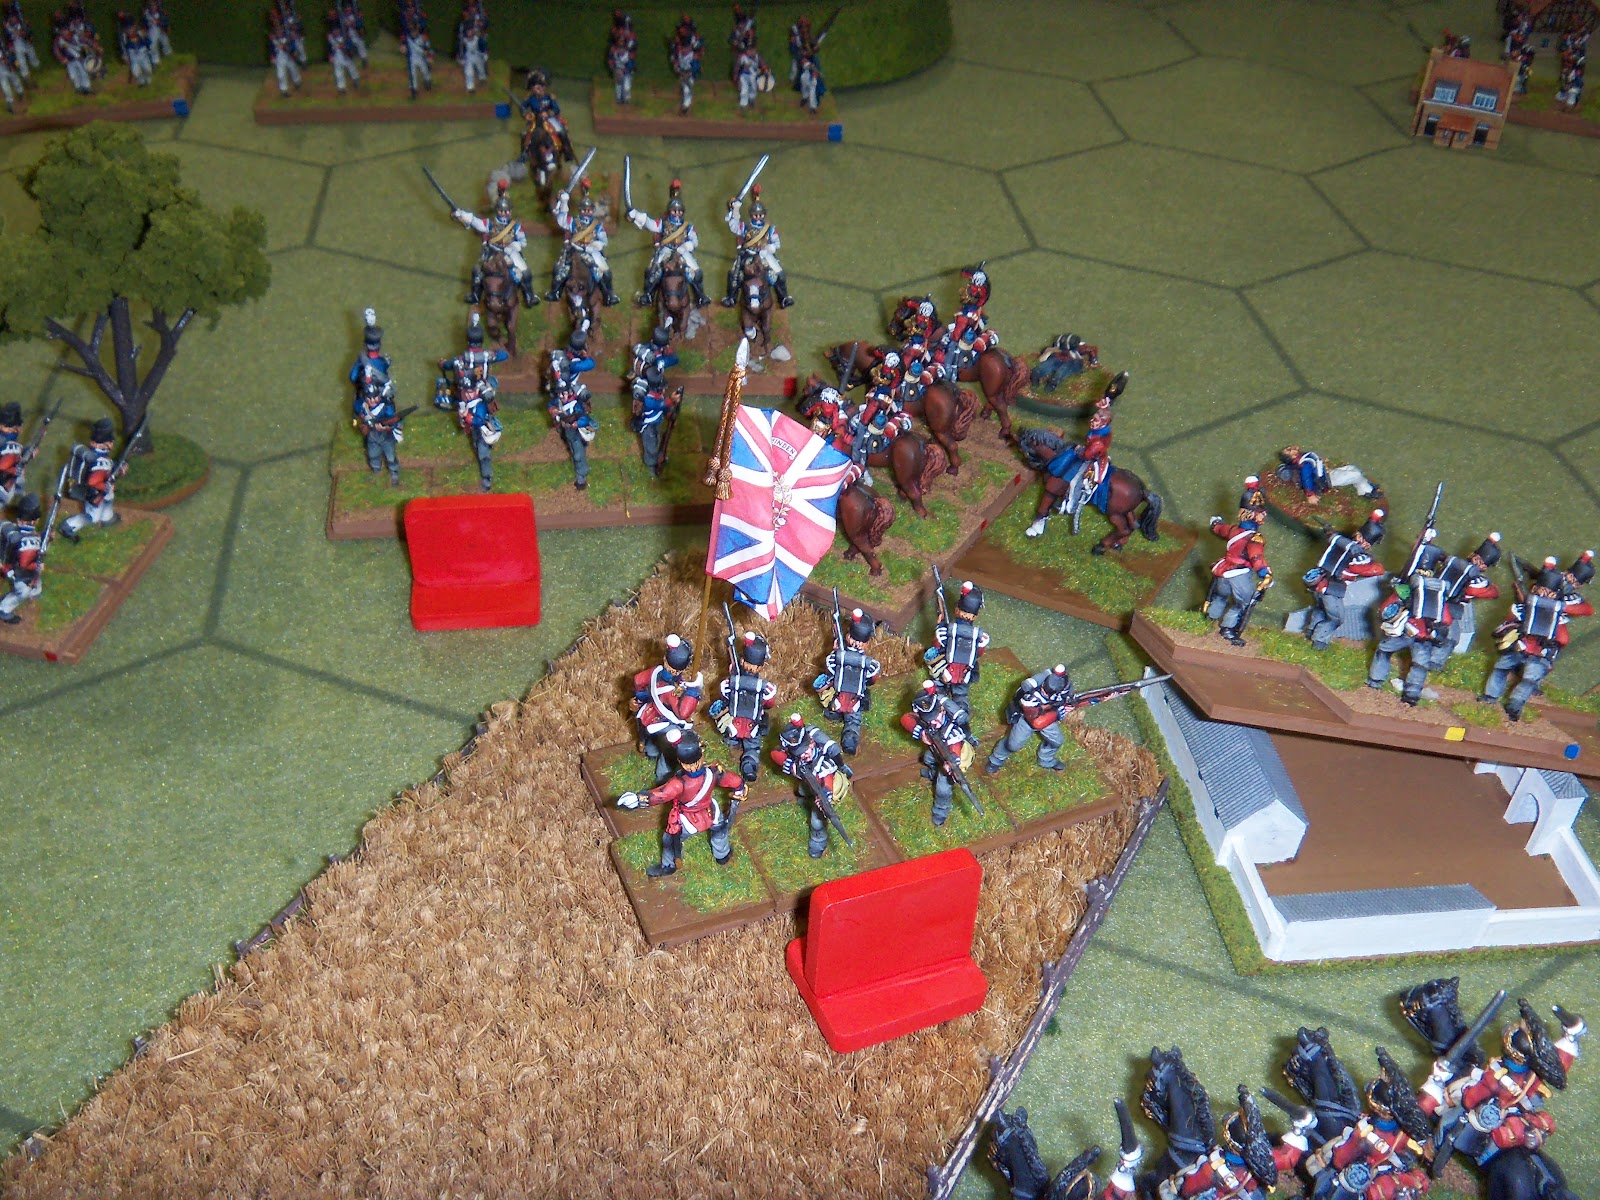
The initial deployments of the battle of Quatre Bras can be seen above: The British contingent is on the Allied right, and the larger Prussian contingent is on the Allied left.
The French were outnumbered, but determined. Here Paul makes his intial move.
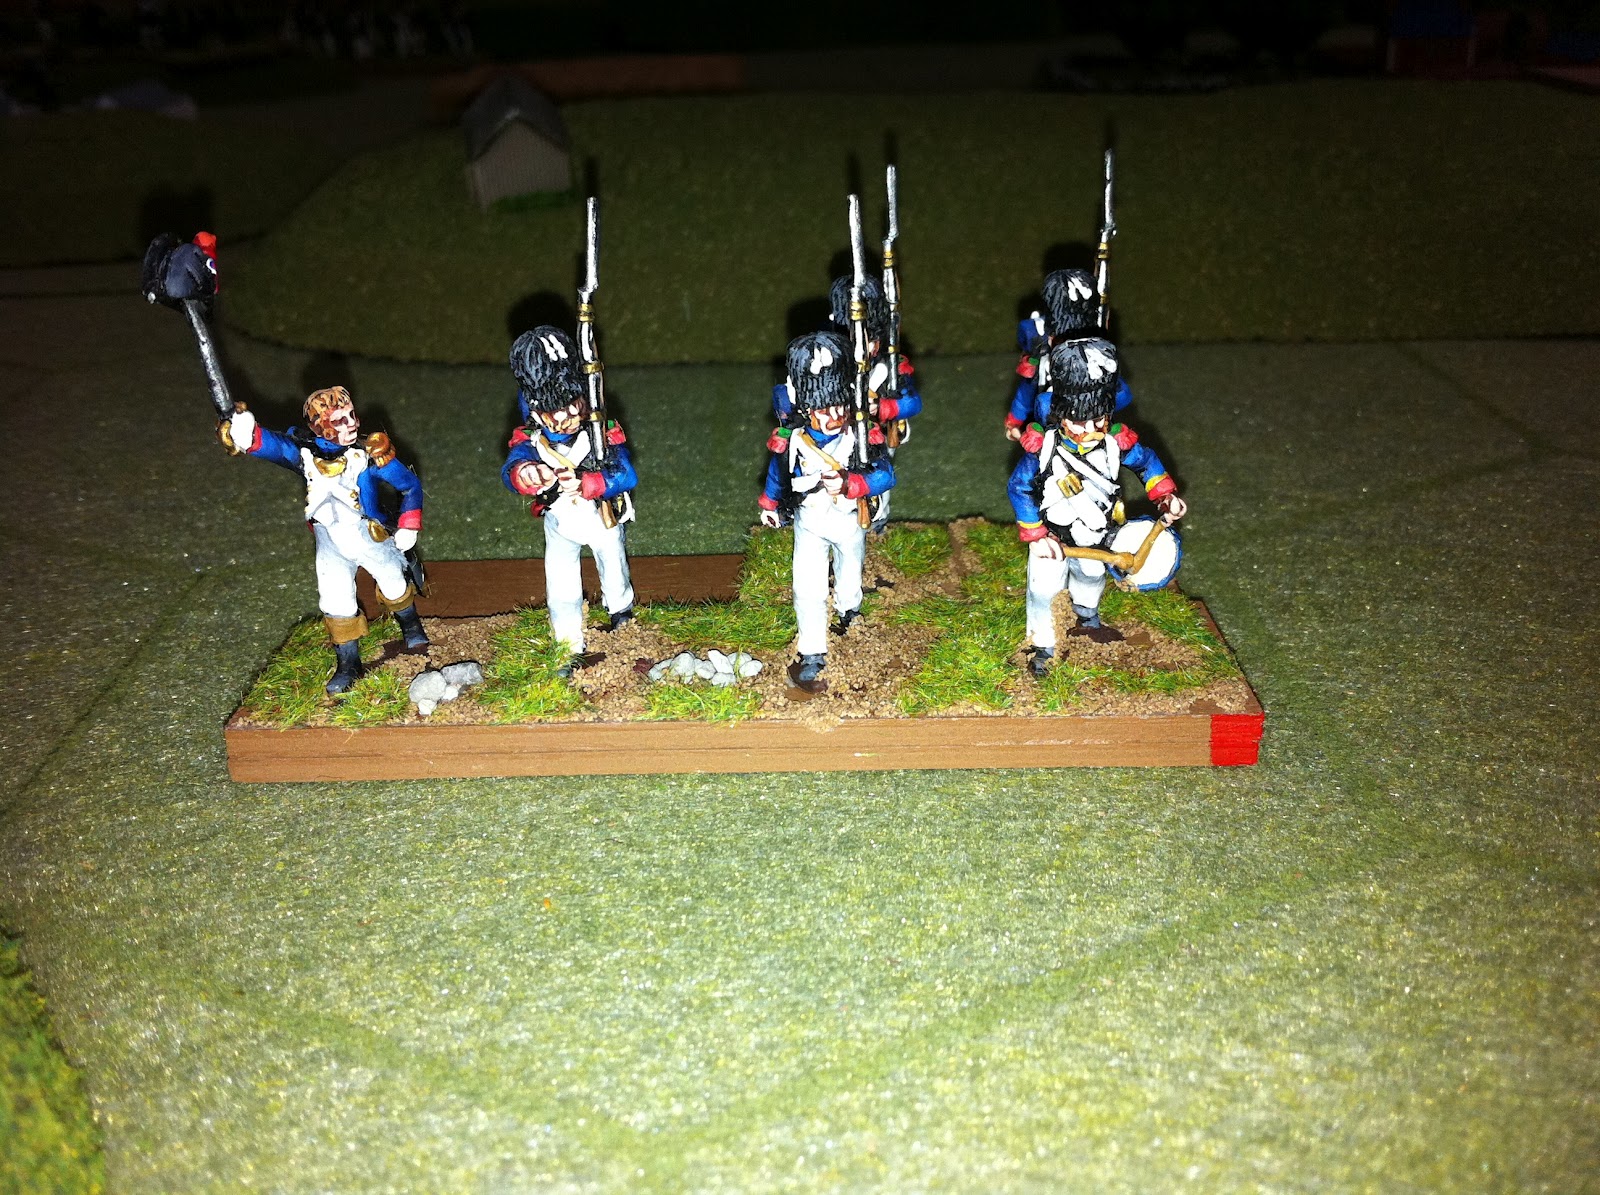
His first move was to send forward the Imperial Guard! (Wow!) They moved into the town under the shadow of a ridge bristling with Prussian guns, which immediately and remorselessly bombarded the town. In this picture, the Chasseurs were already annihilated, and the Middle Guard has lost 25% of its combat power. Under pressure to advance or fall back, Paul launched a two pronged attack on the hill. The result was a bloody failure, and the vaunted Imperial Guard was hors du combat at the very beginning of the first battle of the campaign.
The action then shifted to the French right flank as Paul gritted his teeth, determined to crush the foe regardless of the inauspicious beginning.
A fierce cavalry action flared up as Paul sent foward his Chasseurs and Lancers, and they were met with a wall of Prussian Uhlan Lancers and Dragoons. Once again, the French elan was not enough to carry the enemy position.
Still undetered, Paul sent forward his cavalry on the left. This time, they were Cuirassier and Carabiniers. They were met by British squares (note the red markers), and British Heavies.
Alas! another bloody failure for the French as the supporting French infantry watch from a distance.
Beaten and bloodied, Paul finally decided that he'd had enough and withdrew the remnants of the French forces, now almost completely without Cavalry (or the Guard Infantry).
The next move on the campaign map saw the French capture Ghent, but the greater part of the British army was deploying nearby. Unwilling to accept a defensive battle, the French forces moved to attack them. The forces were almost even, with a slight edge for the French.
The first French move was to send forward the cavalry (again). ;-) Here they are threatening the British forward deployment of their Horse Artillery.
But instead of charging the hill, they swing left, bring up their own horse guns and prepare to charge the British light cavalry deployed behind the hill.
The British and Netherlands cavalry charged and with the support of their guns dispersed the French Cavalry.
Stymied on the left, the French send forward their infantry (finally!) on the right... Lots of infantry.
The casualties started to pile up quickly as the British pushed back.
Both sides fed in lots of troops and the center of gravity shifted toward the center, which became a meat-grinder. The aftermath can be seen here. Each casualty marker represents a brigade made combat ineffective from casualties.
Eventually the French attack in the center bled out, so all that was left to commit was the Imperial Guard Cavalry. They went in on the French left, and over-ran the British artillery, replacing it with their own. The British/ Netherlands cavalry counter-attack drove them back in turn and eventually forced the French back.
Both sides backed away from each other and waited for night to fall.
The battle of Ghent, though technically a French victory, had been a bloody affair. The strategic situation looked grim for the aggressive French: They had successfully destroyed half of the British forces in the first two battles, and so the remaining British troops retreated to the nearest port to embark for England, and their Netherlands and German allies evaporated as a fighting force. However, the Prussian forces were almost completely fresh, and were in position to face off both French forces. Napoleon had no choice but to retreat his ravaged army and hope to secure terms from the converging allied armies.
The campaign was great fun, and gave the battles the context that many tabletop battles lack. I love the marriage of these two games and plan to create a map for the 1812 and 1813 campaigns.
All the players who stopped by to play said that they had fun and liked the rules and the figures (Perrys, Front Rank, and Calpe painted by Fernando 95% and me 5%).